Please wait...
“How do I Measure my Bay Window?”
This entry was posted 22/11/2012

If you’ve got a bay window, the thought of measuring it can be pretty daunting: all those angles and curves make it look complicated. Once you have the right tools, though, it’s actually quite simple. You just need to know which parts to measure.
“What Tools do I Need?”
You don’t need much to measure your bay window, but to do it accurately it’s advisable to use the following:
- A DIY style tape measure. This needs to be the kind that uses a rigid yet flexible metal stip. Don’t use a fabric tape as this may stretch, and a 30cm rule is definitely not recommended.
- A protractor to measure the angles. We can supply an adjustable plastic protractor which makes the process really easy, or you can download a paper version from our website. Alternatively, you can fold a piece of paper to the angle of the bay window and use a traditional semi-circular protractor to measure it.
- Something to stand on. Depending on the height of the window and where you intend to fix the curtain pole, you might need to stand on something so you can reach easily and take accurate measurements. A small step ladder is probably the best solution, but you could also use a chair (at your own risk).
- A pen or pencil, and something to write the measurements on. It might help to call the numbers out and have someone else write them down.
“What do I Measure?”
This depends where you intend to attach your track or curtain pole.
For face fix or wall brackets, you should take the measurements of the wall at the height you intend to fix the pole, although if you are fitting to a frame you should measure the frame.
If you are top fixing, say to a ceiling, the measurements can be taken from a variety of places:
- You can measure the wall at the point where it meets the ceiling and tell us how far forward the track is to be fitted. If the track is being top fixed there are no limitations to bracket extension so you can project as far as you like.
- You can measure the window sill, ensuring the track will allow the curtains to hang past the sill.
- Or you can measure an existing track.
“How do I Take the Measurements?”
Now you can actually take the measurements. Measure from where you would like the pole to start to the first angle, then measure from angle to angle around the bay window and finally from the last angle to where you want to pole to end. Bear in mind you might need some overhang on either side of the window so the curtains don’t block the view when they’re drawn back.
Whether your bay window is square or is more complicated, this method will work. Take the shape below: it has a large number of angles and the track bends back on itself at the ends. All you need to do is measure from point 1 to A, A to B, B to C, and so on, taking the angle at each point.

You can also measure from the first and last angles to each diagonal corner (the blue lines, above). This isn’t strictly necessary, but allows us to double check the other measurements so you can be sure everything will be spot on.
“But My Window is Curved!”
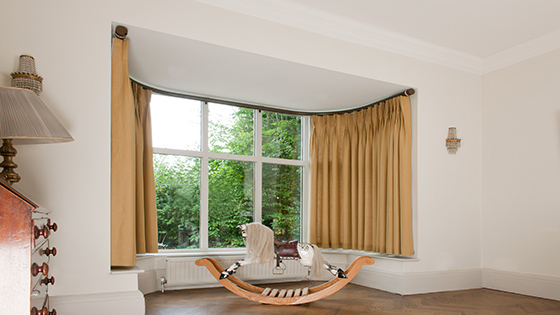
No problem. All you need to do is measure across the bay between the points you want the pole to start and end (you might want to pin up some string to mark this line). Then measure at 90 degrees from the string at three points to find the depth of the bay, give us the measurements and we’ll do the rest.

Still confused? Give us a ring and we’ll talk you through it.
This entry was posted in Bay Window Curtain Tracks, Bay Windows, Bay Window Curtain Poles and tagged square bay window, curved bay window on 22/11/2012

